What is Brownell’s Alumahyde II
Brownell’s Alumahyde II is a super strong epoxy based spray paint that is extremely easy to apply. It provides a nice gun finish comparable in color to other popular firearm coating methods like cerakote or durakote.
Alumahyde is primarily used over superior coating methods like cerakote or durakote mainly because it is DIY friendly.
Brownells Alumahyde II
Excellent, high quality epoxy paint that is resistant to cleaning chemicals.
Why Use Alumahyde over other spray paints
However, at between $10 to 15 per (or more on Amazon), you might ask, why use Alumahyde over a typical $6 can of krylon camoflage paint? I’ll give you 4 reasons.
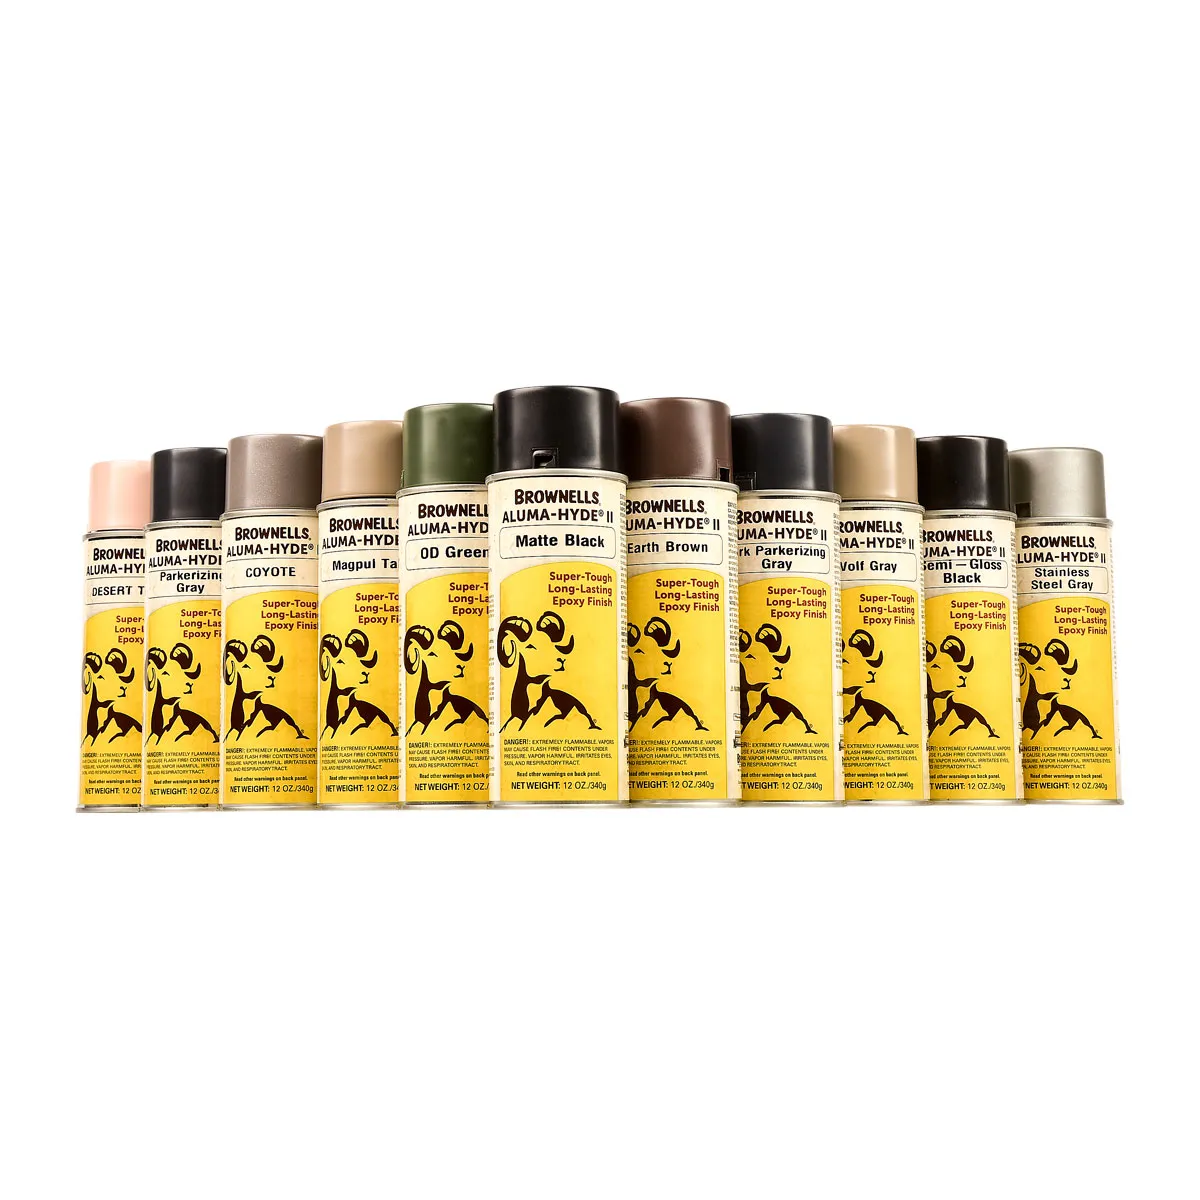
Reason 1: Alumahyde has way more varieties of color
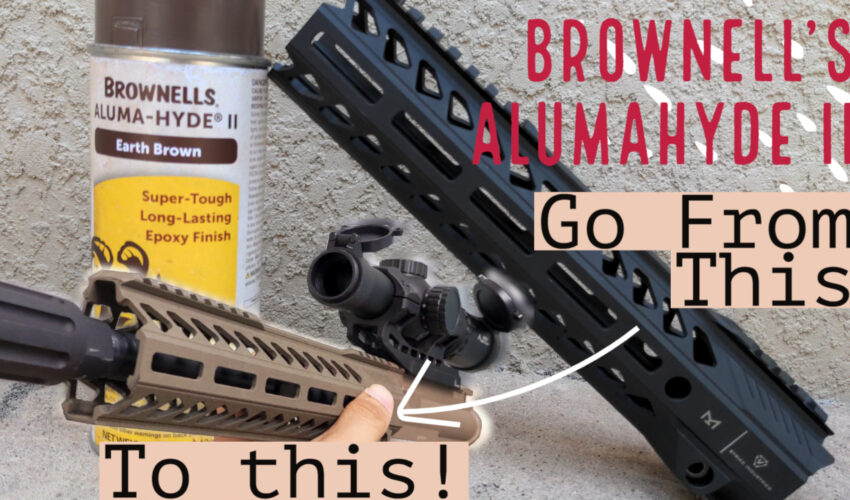
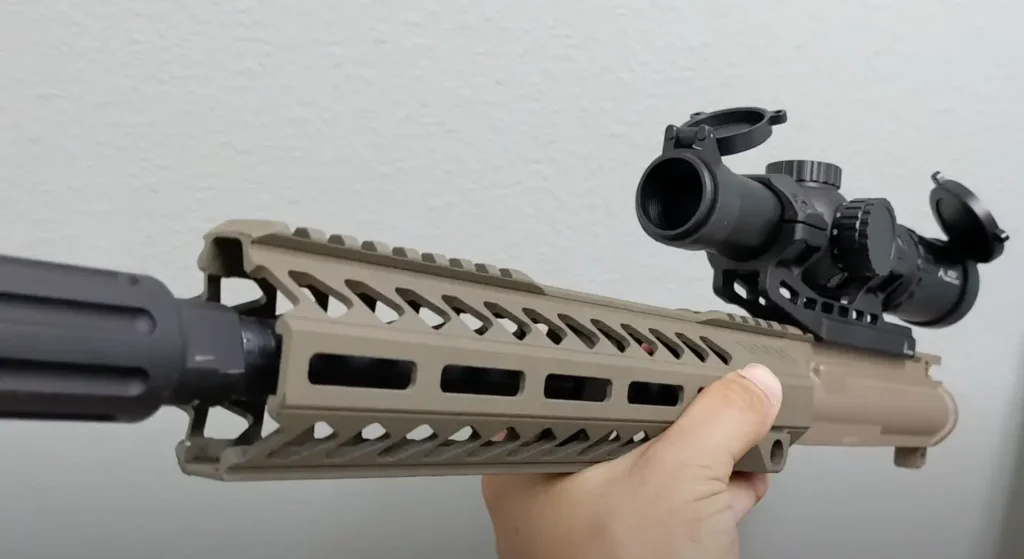
Alumahyde color matches fairly well with popular aftermarket colors because the wide variety of shades that Brownells Alumahyde offers. If you buy something like krylon from a big box store, you get maybe 4 shades: black, green, brown, and tan.
Because of the available variety, Brownells on the other hand can better match colors like Magpul Flat Dark Earth (FDE). Just keep in mind sometimes the Brownell’s label is not actually the closest match for what you’re trying to do. For example, the official “Magpul FDE” color is not as close to an actual match as Brownell’s “Earth Brown” color. Earth brown is just a shade off from Magpul FDE.
Reason 2: Alumahyde is chemically resistant to gun cleaners and oils
Besides being convenient and easy to apply, just like any other spray paint, what really sets alumahyde apart from other gun paints is that alumahyde is chemically resistant to most gun oils and cleaners. This means that alumahyde shouldn’t start bubbling up when you apply that can of Birchwood Casey’s gun scrubber to clean the gun.
Reason 3: Alumahyde is a durable epoxy paint
Epoxy paints are a lot more durable than standard spray paint. They are less durable then other ceramic coating methods like cerakote and durakote, which can take an absolute beating. But your brownells alumahyde covering isn’t going to chip like the krylon covering.
Reason 4: You want to color match that random accessory that you couldn’t get in FDE
Guys, the pain of this is real. You bought that FDE upper and lower receiver. Then you find the handguard that you want to purchase, and FDE is completely sold out. Or perhaps, black is on sale for 50% off and the FDE is still full price. Heart breaking. This is the story of our lives. Brownell’s Alumahyde II is the answer to this problem.
Cons: Why you shouldn’t use Brownell’s Alumahyde II
Reason 1: If you need to holster the firearm in a tight retention holster
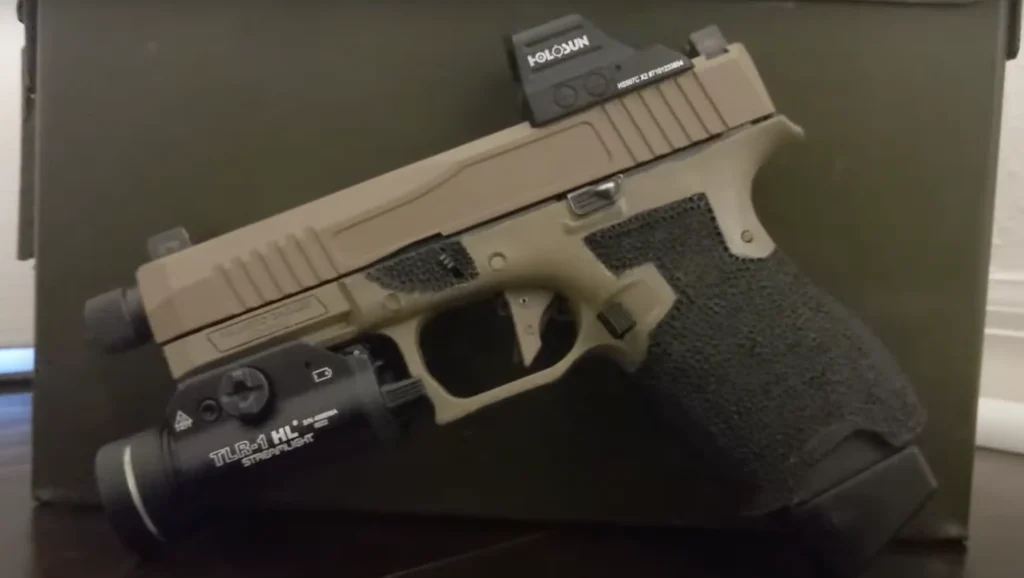
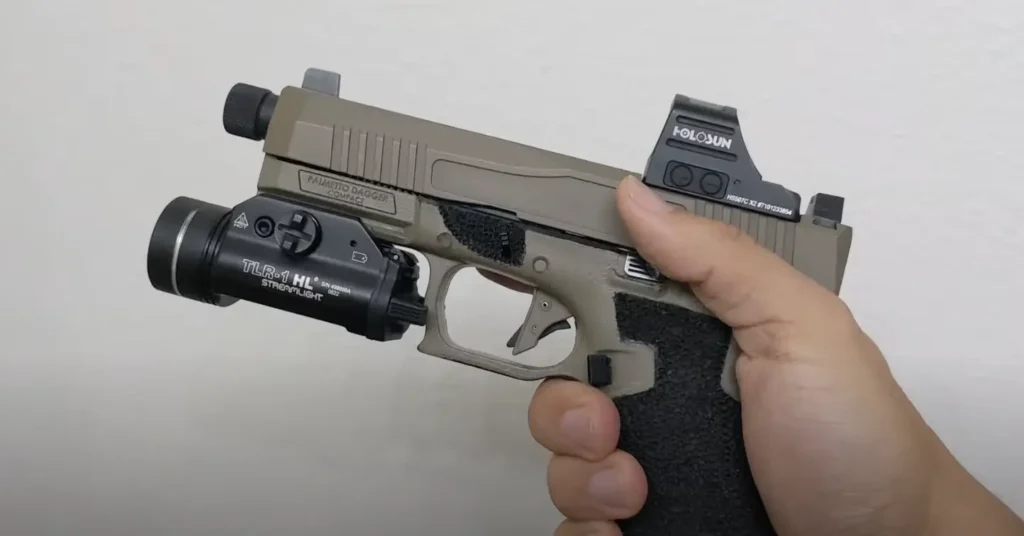
Alumahyde is thick stuff. It adds a little bit of thickness to the weapon. I coated this PSA dagger frame, and the PSA dagger frame is a little chunkier than a standard glock frame. After applying the alumahyde, the dagger frame became a lot tighter in standard Glock 19 holsters. In fact, way too tight, it was difficult to holster and unholster the weapon. Cerakote is a much thinner option and will only increase the footprint of the weapon by fractions of a milimeter.
With that said, now with some wear and tear from shooting one USPSA match and doing a ton of dryfire exercises, the Dagger holsters and unholsters just fine.
However with that said, Alumahyde is probably best used on rifles, or on pistols if you know how to make a custom fit holster.
Reason 2: You want a super durable finish
As seen below, with this holstering and unholstering over time, the finish has started to wear. I don’t mind this look as it makes the weapon look “battle worn”. None of my guns are safe queens, so I don’t mind this con, but if you’re really particular about scratches and dents, you’ll want to go cerakote over this option.
How to Apply Brownell’s Alumahyde II
So what is the best method for applying alumahyde? The process is simple, anyone can do it. As stated before, this is the biggest pro to using Alumahyde over cerakote. To begin, I recommend using a deep aluminum Turkey pan, like one that you’d use for baking a thanksgiving turkey. The reason I suggest this is that it has high walls. While Alumayhde will air dry over several days, I’ve gotten the best results by baking it in an aluminum pan with a heat gun the way that I’ll show you. Moreover, if you choose to do it in the oven, your wife will be very upset with you.
Step 0: Prep your workspace
In step 0 we’re going to get everything prepped. We’ll start by clearing our weapon. Always make sure your weapon is empty before doing any sort of work, and then disassembling down to the most basic parts that we want to paint. Always follow the universal firearms safety rules when working with weapons, even for jobs like this. Safety should always be your #1 priority.
Clean the item thoroughly with chemical gun cleaner or even soap and water to get any oils and residues off of the weapon. If you so desire, you can scuff up the finish of the item with sand paper, which may help the paint adhere better. I usually don’t bother with this and have had success without doing this.
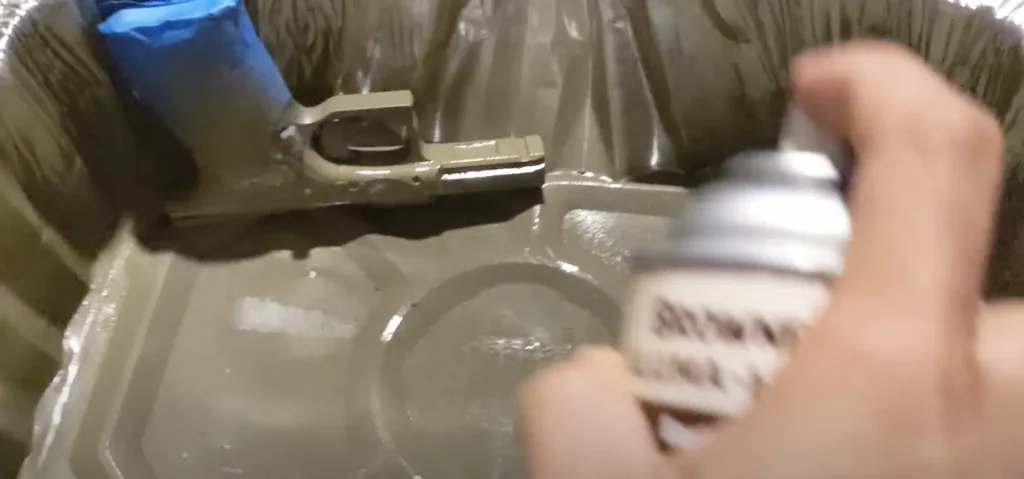
Alumahyde does add thickness to items, and that thickness makes already tight tolerances tighter. If you’re painting anything that has internals, like a handgun frame or a receiver, cover the inside with masking tape as in the previous step. Cover any holes or openings, anywhere that you don’t want paint to go.
Place the stripped and prepped item in the center of the high walled aluminum baking tray.
For the painting portion of this job, you’re going to want to do it outside. There are many reasons for this, including overspray, but brownell’s alumahyde smells bad, as it has a strong epoxy paint smell.
I recommend using a P100 respirator. They pay dividends. Your health is worth it and you don’t want to be breathing this stuff in. Don’t tough guy this one or be lazy, safety is paramount. Your family needs you in top physical health for as long as the Lord wills it. You will use this P100 mask for all kinds of jobs in the future if you have one on hand (plus, if you need another reason to justify it in your mind, they aren’t the worst thing in the world to have around if ever there was some sort of NBC event).
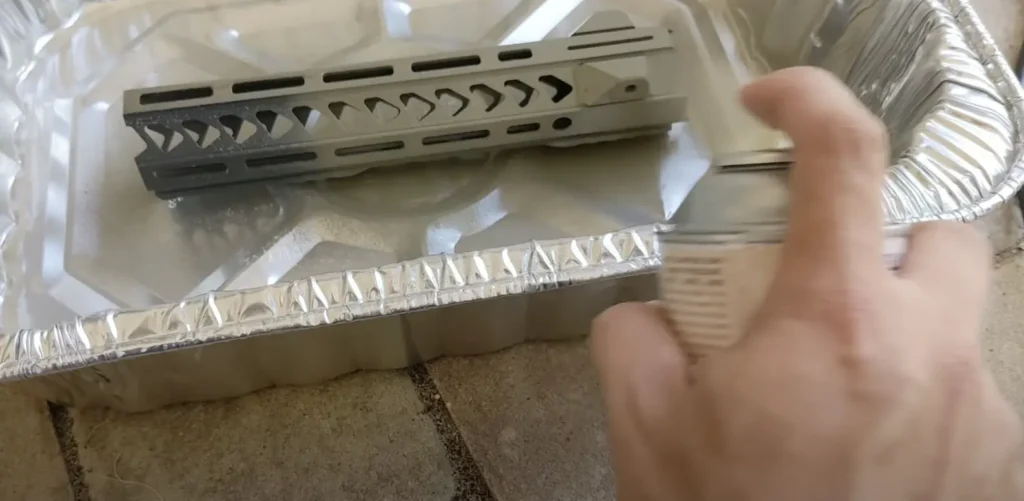
Step 1: Paint just like regular spray paint
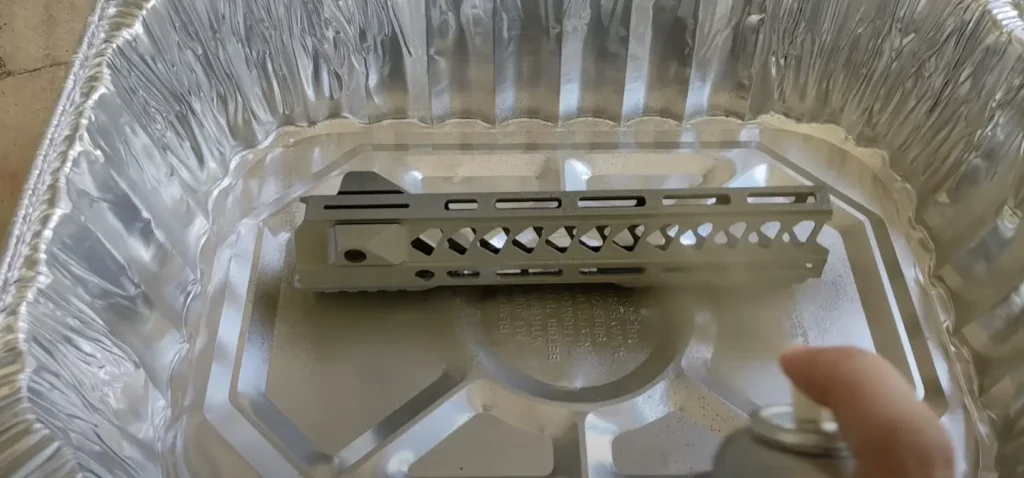
Alumahyde applies just like any other spray paint. Apply your first coat lightly and evenly. Just like spray paint, alumayhde will run if you coat it too thick. It does cover well. You probably only need 2 coats for most items. Try to focus on the surface primarily rather than internals, and make sure to use logic. You can spray the front couple inches of a handguard if it is free floating. You don’t want to spray the back where it lines up to the receiver.
You’ll want to let the first coat dry sufficiently enough before doing the second coat. I like to set this up, so I have an fun activity to look forward too in between the boring ones like mowing the lawn. Usually if you sprayed light, giving it 30 minutes to an hour or so is enough time to spray the other side. I’ll then flip the item and spray away.
Keep in mind that epoxy paint will feel tacky until it fully cures. This does not necessarily mean you cannot rotate the item safely to spray the other side. Use your best judgement.
After letting the other side dry again, we’ll repeat with as many desired coats, but note that each coat adds thickness.
Step 2: Cover the pan with aluminum foil
I like to cover the pan with aluminum foil. You’ll see why in a minute. We’re going to create super cheap, florida man oven.
Step 3: Use a heat gun to make a mini oven, bake it
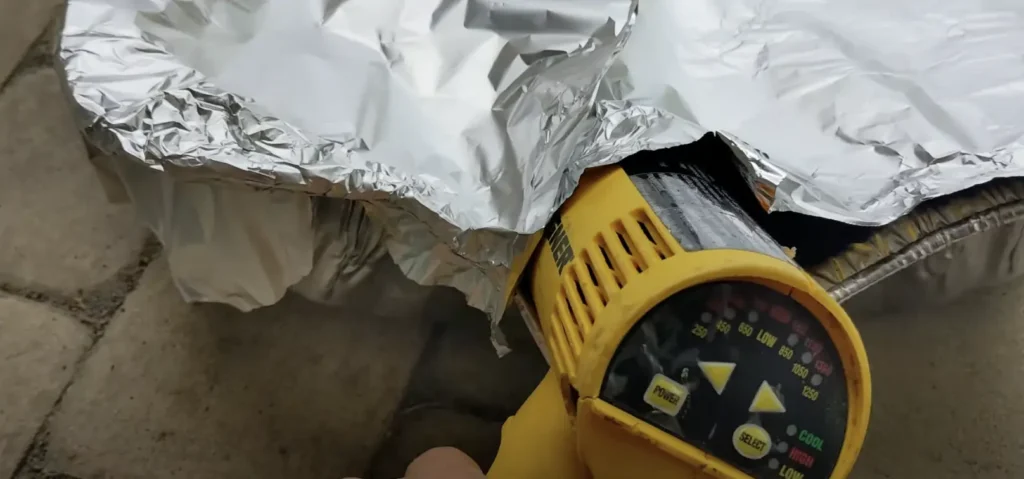
Your wife will be mad at you if you use the family oven for this project. Besides the smell that will fill the house, you also cook your food in that oven. You don’t want to be eating alumahyde for the next decade. Don’t be stupid.
As I suggest earlier, using a baking tray made of aluminum is a good idea because of its flexibility. By wrapping the top in aluminum foil, and because the aluminum baking trays are flexible, you can easily mold the pan and top aluminum foil around the barrel of a cheap heat gun.
It hopefully goes without saying, but keep this setup away from anything flammable. Do it on a stone patio or a driveway, somewhere outdoors where nothing can set fire. Be safe about this guys.
Adjust the heat gun up to around 300-400 degrees farenheit and let it rip. We’ll let it bake for a couple hours. You’ll want to check on it regularly and stay close in case of an emergency.
Step 4: Now that its Baked, Let it sit
Baking the alumahyde will make it cure faster, but moreover, I’ve found that the finish holds up much better when this is done. Now that the alumahyde is cured, we’re going to put the heat source on cool mode if applicable, and let it run until cool.
Afterward, we’re going to remove the heat source.
Its at this point where I’ll let the item we painted sit for a few more hours to let everything cool off naturally.
The smell should have dissipated enough that you can bring it back inside. Ideally, you’ll let it sit in the garage for another day or two to allow it to fully cure.
Step 5: Re-assemble
After a few days, when fully cured, re-install the item and you should be good to go.
Brownells Alumahyde II
Excellent, high quality epoxy paint that is resistant to cleaning chemicals.
Conclusions
Alumahyde is a great firearms coating for any DIYer, as long as you have the right expectations. It isn’t a miracle product. There are more durable options out there. However, it’s simple to apply, and I’d say even ideal if you like battle worn looks over time.
Personally, I love using alumahyde because I want my guns to look dirty, worn and used. The patina, so to speak, adds character to the firearm. Alumahyde will cover well and be resistant for surface protection, but it will still wear with usage and time.
Overall it is a good solution if your gun isn’t a safe queen and you don’t care about your firearms being showroom worthy.