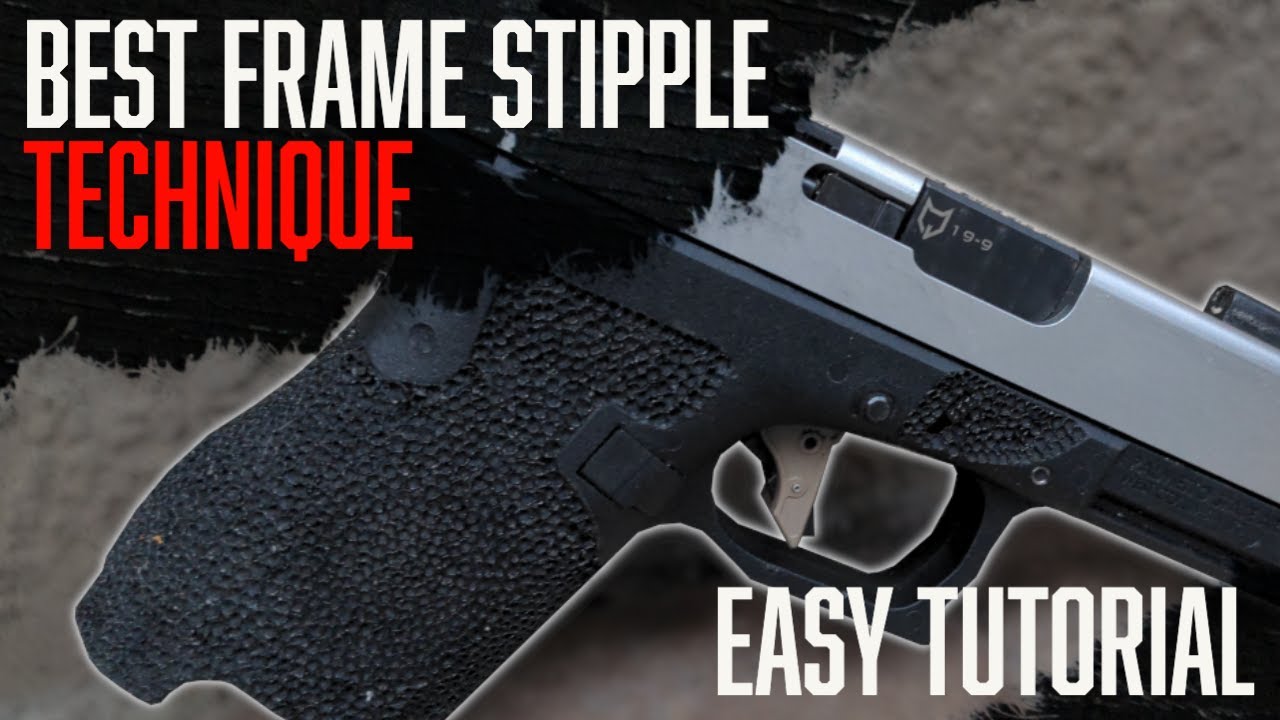
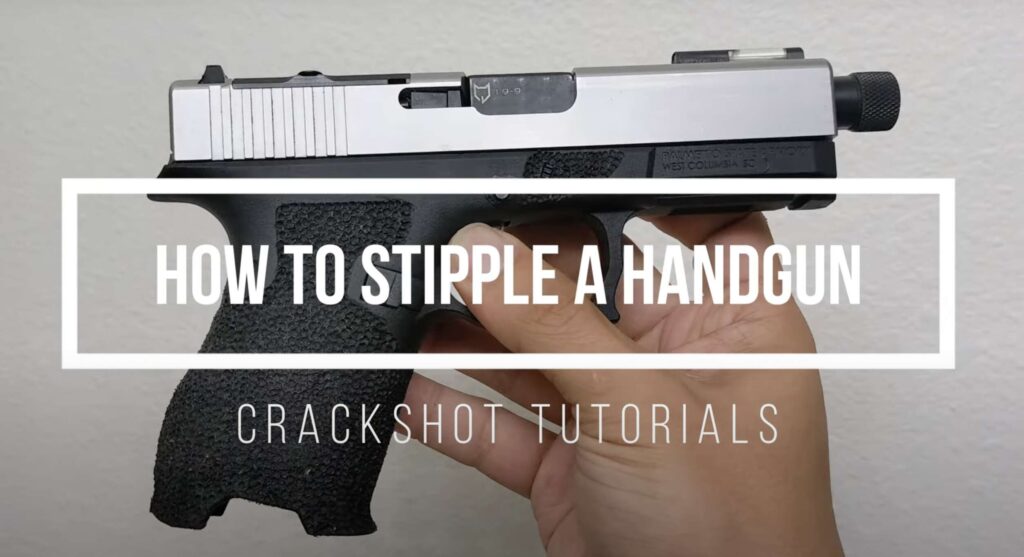
The Best Pistol Frame Stipple Techniques : Stippling a Handgun Best Practices – An EASY Tutorial
Step by Step Guide to Stipple Your Handgun Frame
In this video, we will show you step-by-step how to stipple a handgun frame.
We’ll cover dremelling the frame to remove finger grooves, adding an undercut to the trigger guard, and removal of previous designs / stippling.
Next, we’ll then move onto the stippling itself, teaching you the proper technique for using the soldering iron to create the desired texture on the grip of your handgun.
Throughout the tutorial, we will provide tips and tricks to ensure that you achieve the best results possible.
We’ll also touch on important safety considerations, such as wearing eye protection and working in a well-ventilated area. By the end of this video, you’ll be equipped with the knowledge and skills necessary to stipple your handgun frame and take your shooting game to the next level. So, whether you’re a seasoned gun owner or a beginner, this tutorial is for you!
Supplies Used in This Tutorial
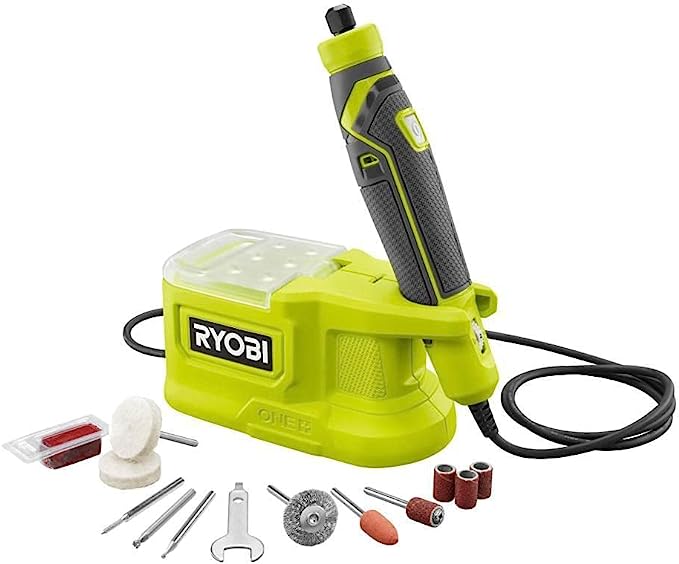
Ryobi Dremel Tool
- Multiple bits perfect for detail work
- Includes sanding disks for fine grained finishing
- Modular, Battery powered with other ryobi one batteries
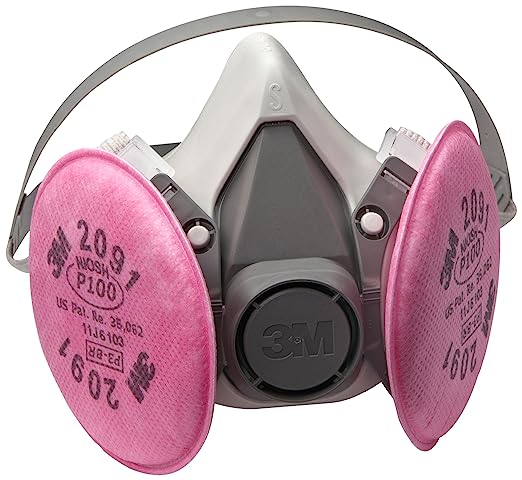
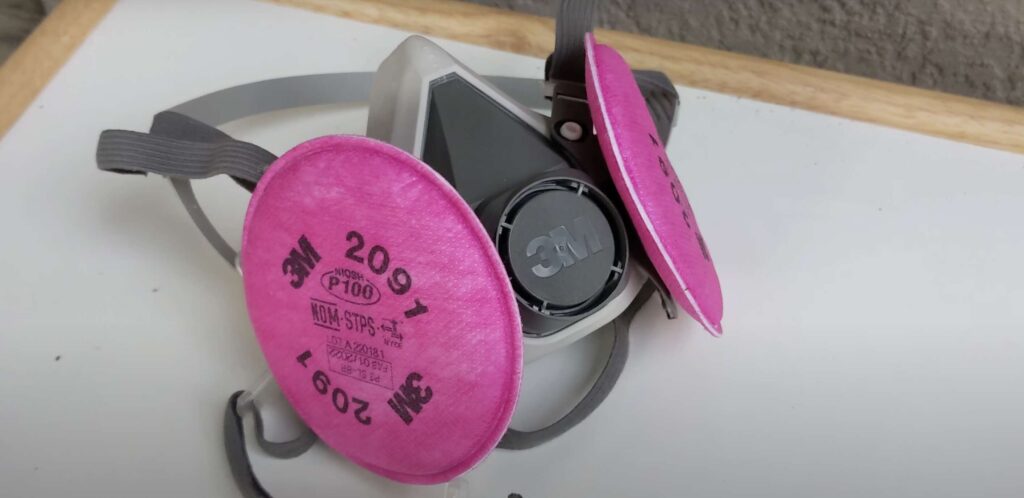
P100 Respirator
- Helps reduce breathing plastic particulate matter while stippling
- Re-usable for all other kinds of odd jobs
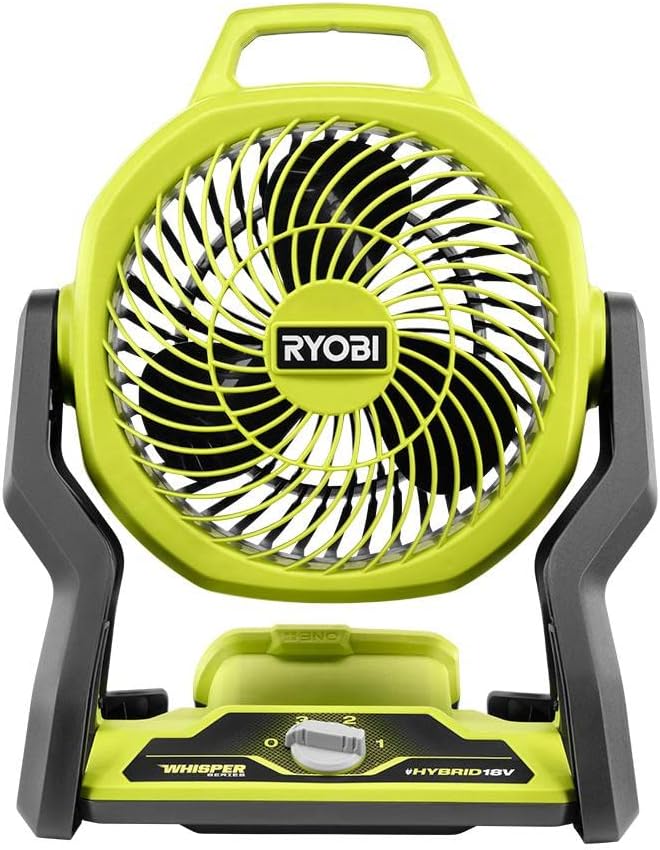
Ryobi Fan
- Portable, Cordless, uses drill batteries
- Not specific to this job, but I use this fan for all kinds of things
- Uses standard Ryobi One batteries
What is Stippling?
Stippling is the process of creating a textured surface on your gun’s grip to provide better traction and grip. It’s a popular modification among firearm enthusiasts and can be done easily with the right tools and techniques.
Why Stipple a Frame?
Stippling a frame, especially on pistols, gives it a much grippier texture allowing you to have fine tuned control, especially in specific areas that are critical for controlling recoil depending on your preferred grip. You can shape your frame to really work well with your hands and your grip.
In this way, its a free upgrade that has a ton of upside if done right.
Tools for Stippling Your Pistol Frame
We will start by discussing the necessary tools and materials you will need for the job.
The tools required include:
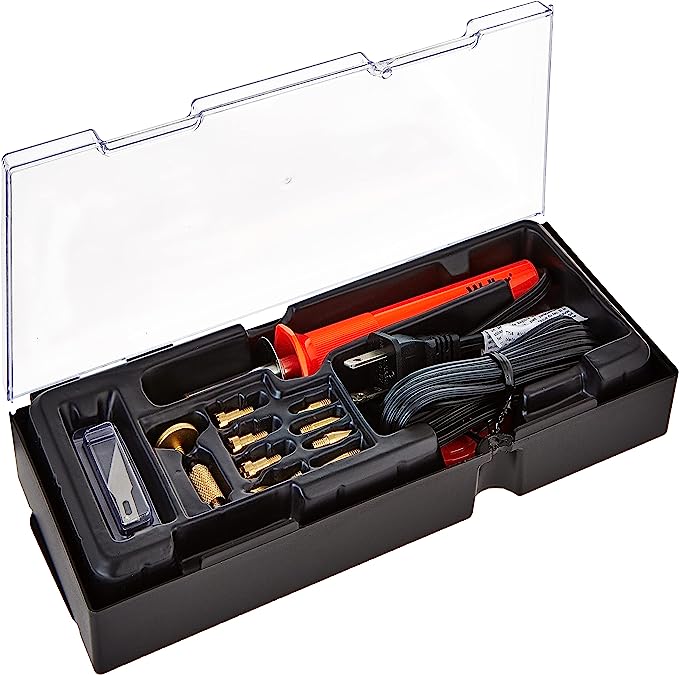
- A soldering iron or wood burning device
- A dremel tool and sand paper
- Safety equipment
- P100 respirator
- Ventilation fan
- Safety glasses
You may already have most of these, but I’ve included the ones I used below:
Steps to Stipple Your Frame
Step 1: Come up with a game plan
Decide ahead of time what you’d like to do including:
- What pattern do you plan to stipple
- Which areas are you going to stipple
- Are you going to remove any material first?
- Are you doing any sorts of under cuts to the trigger guard or frame?
- Are you removing any grooves?
- Are you doing an accelerator cut?
Having these things planned out ahead of time will help improve your chance of success later.
Today we’re planning to remove the PSA Dagger finger nub, stipple the grip area, and stipple the accelerator cut area.

Step 2: Setup Your Workspace
- Lay out all of your tools
- If you’re using a dremel tool, select a sanding bit for removing material
- Set up adequate ventilation. Ideally the project will be done outside.
- Prepare your safety gear, you should wear at least a P100 mask to help protect your lungs from breathing in plastic particulate matter both when doing any sanding / shaping of the frame, as well as when doing the actual stippling
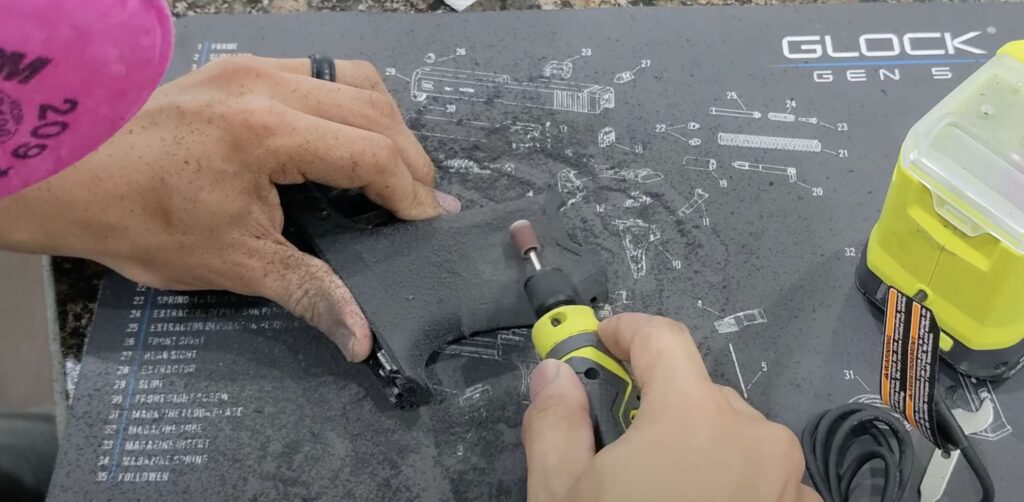
Step 3: (Optional) Remove Material with a Sanding Bit
- Safety Precautions: Wearing a P100 mask is a good idea, even when sanding, as fine particulate matter will get in the air. You don’t want to be breathing forever plastics into your lungs.
- Best Practice: Go slow when removing material, you can’t add material back but you can always take more away. Pay close attention to how much has been removed and how much you have left to play with. Don’t go too deep or you might compromise the integrity of the frame.
- Remove any features that you don’t like, for example, finger grooves, if the plastic in the area is thick enough to handle removal
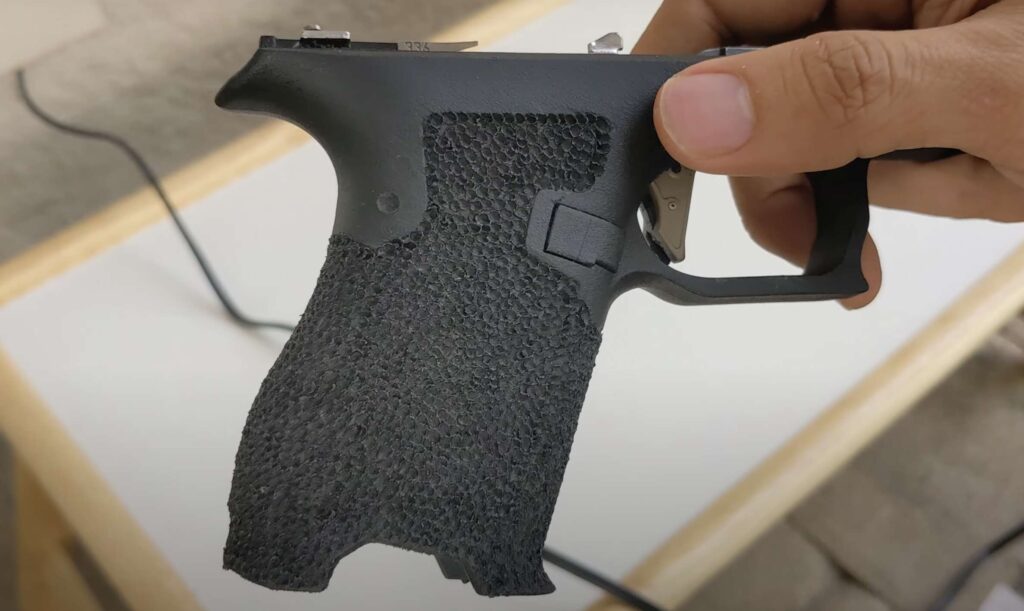
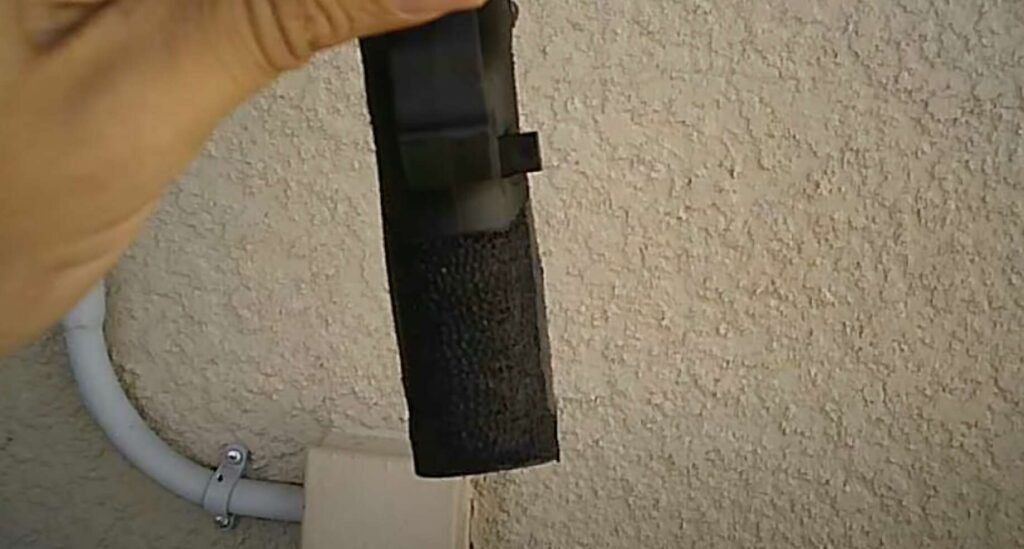
- Remove existing stipple by smoothing down stipple areas
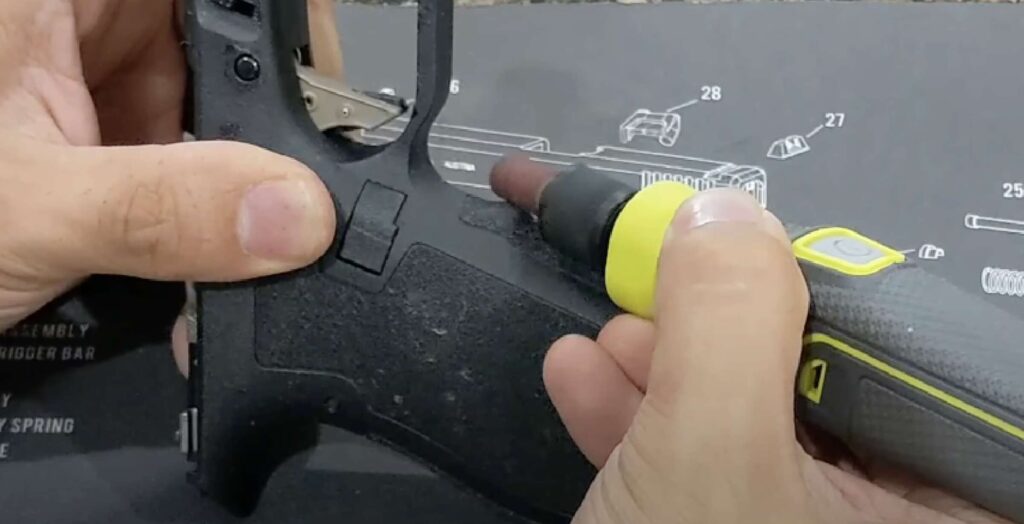
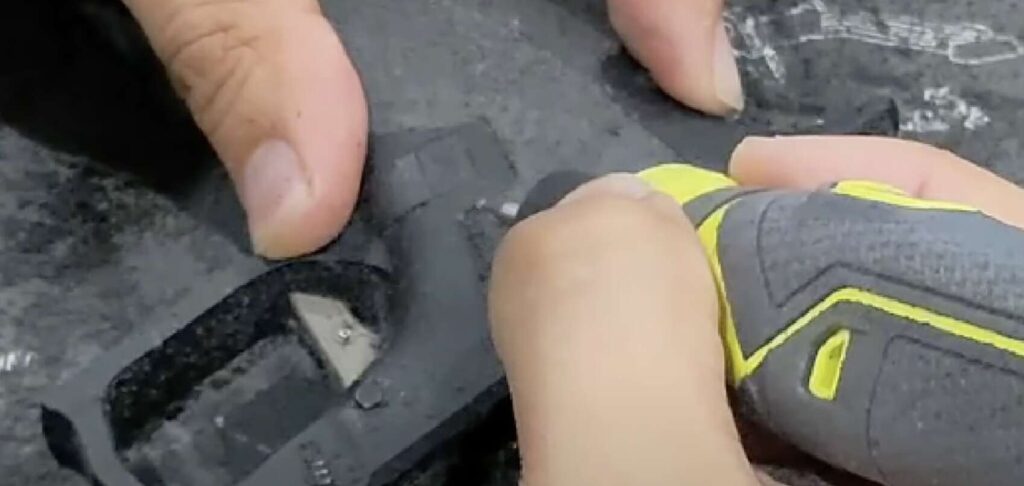
Step 4: (Optional) Once smooth, Define the Borders with a Point Tip Dremel Bit
- Doing so will create very clean borders for the final stipple
- Use a very fine tipped dremel bit for this
- You must be extra careful here to not take away too much material as you could punch through the frame, go very slowly if you decide to do this
Step 5: Prep your workspace for stippling
- Safety Precautions: Work outdoors. Wear at least a P100 respirator mask. Use a ventilation fan to blow smoke away from you, even if working outdoors. Wash your hands thoroughly after stippling
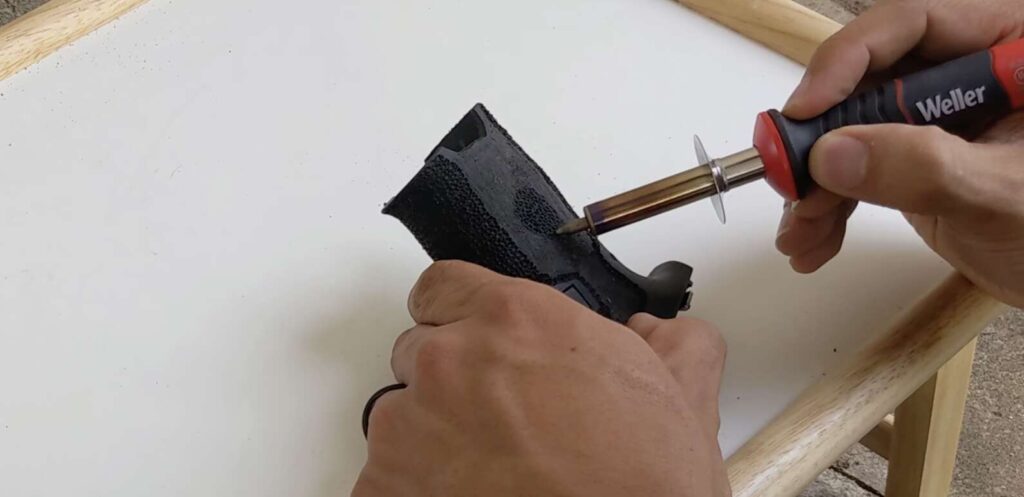
- You can use either a wood burner or a soldering iron. I recommend a wood burner as they come with a variety of tips to do a variety of different patterns
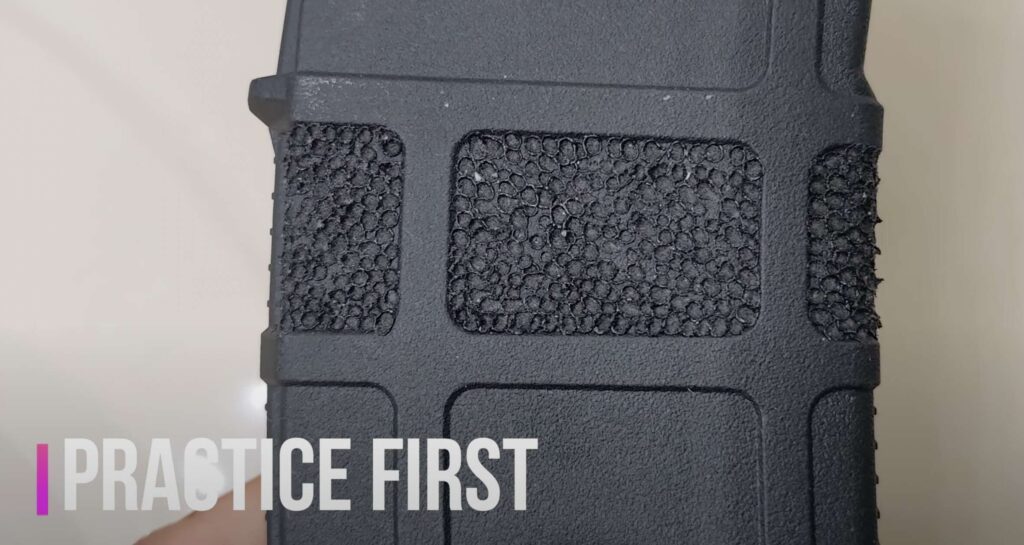
Step 6: Practice Stippling First on Similar Plastics
Before attempting to stipple your frame, try to practice on a few similar plastics to your handgun frame. Some ideas for this include:
- The plastic case your pistol came in (Glock cases for example are made with the same plastic as the frame on the pistol)
- Old accessories you will never use again like A2 pistol grips
- Old PMags are a great option as well
Remember practice makes perfect, especially if you want to do a strange design.
Step 7: Start with the Borders
I like to stipple the borders first as these are the most unforgiving area if they aren’t done well. The eye will be drawn to the edges, so make sure to stipple the borders first.
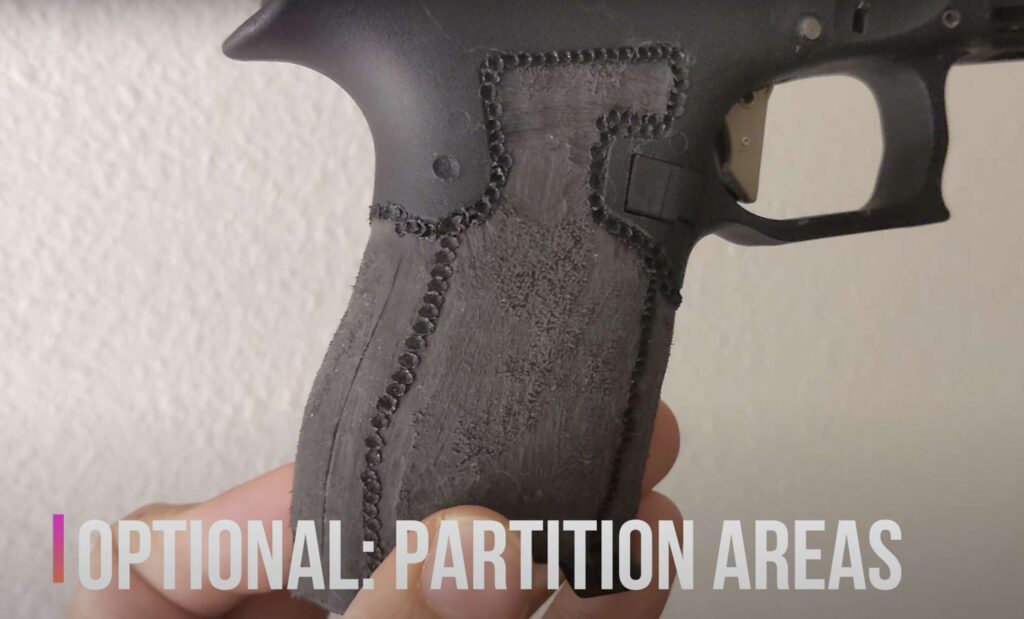
Step 8: (Optional) Section Off Grip Areas
I like to split the job into 4 areas.
- Front
- Back
- Left Grip Panel
- Right Grip Panel
Stippling is a slow process, so I like to break the work down into different areas so I can do a little bit at a time. The reason for this is that, in my personal preference, I like to stipple horizontal lines on the front and back grip areas, while doing a more randomized pattern in the large left and right grip areas
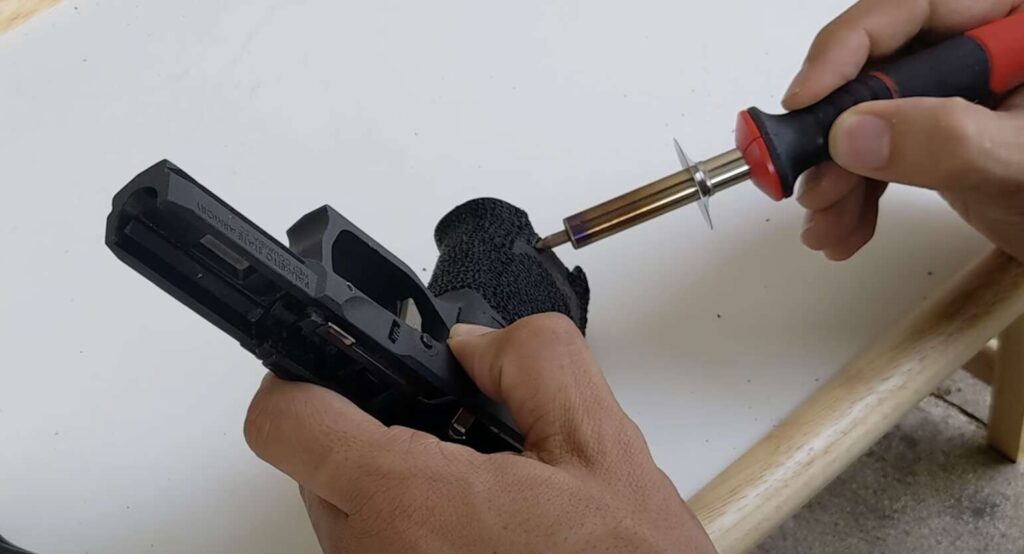
Step 9: Stipple the Front and Back Grip areas
For the front and back grip areas, I like to stipple horizontally from top to bottom. I’ve just found that in these areas it gives you a very clean look. Although this is just my preferred routing, your mileage may vary.

Practice makes perfect, and mistakes done on the front and back parts of the frame are the least likely to show and be visible (people don’t look down the barrel of the gun for very long, everyone inspects the sides of a gun when holding it or taking photos).
Step 10: Stipple the side panels
For the side panels, I prefer to start in the middle of the panel and fan out. Trying to keep things linear here is going to be difficult because of the size of the work area, so I try not to go line by line but rather start in the middle and work my way outward.
It’s a good idea to embrace a little randomness to the pattern. Line by line can look great. The eyes look for patterns. However if the lines are even slightly crooked, straight lines can look terrible. However, again, this is largely preference.
Some people like to go completely random. I’m afraid in doing so, I might get carried away and press too hard, burning a hole in the frame. So personally, I don’t like going with this approach, but many others do so with great success.
Step 11: Fill in Any additional areas
Stipple in any additional areas like accelerator cuts. Go back over tight areas and make sure you didn’t miss any spots.
Final Tips
- Enjoy the process and don’t get stressed out
- Go slow, you can remove material easily, you can’t add it back
- Practice, Practice, Practice first so you can get the technique down
- Be methodical and do your best
- Don’t forget that guns are just tools, so while its really cool if they look nice, the most important thing is that they still go bang