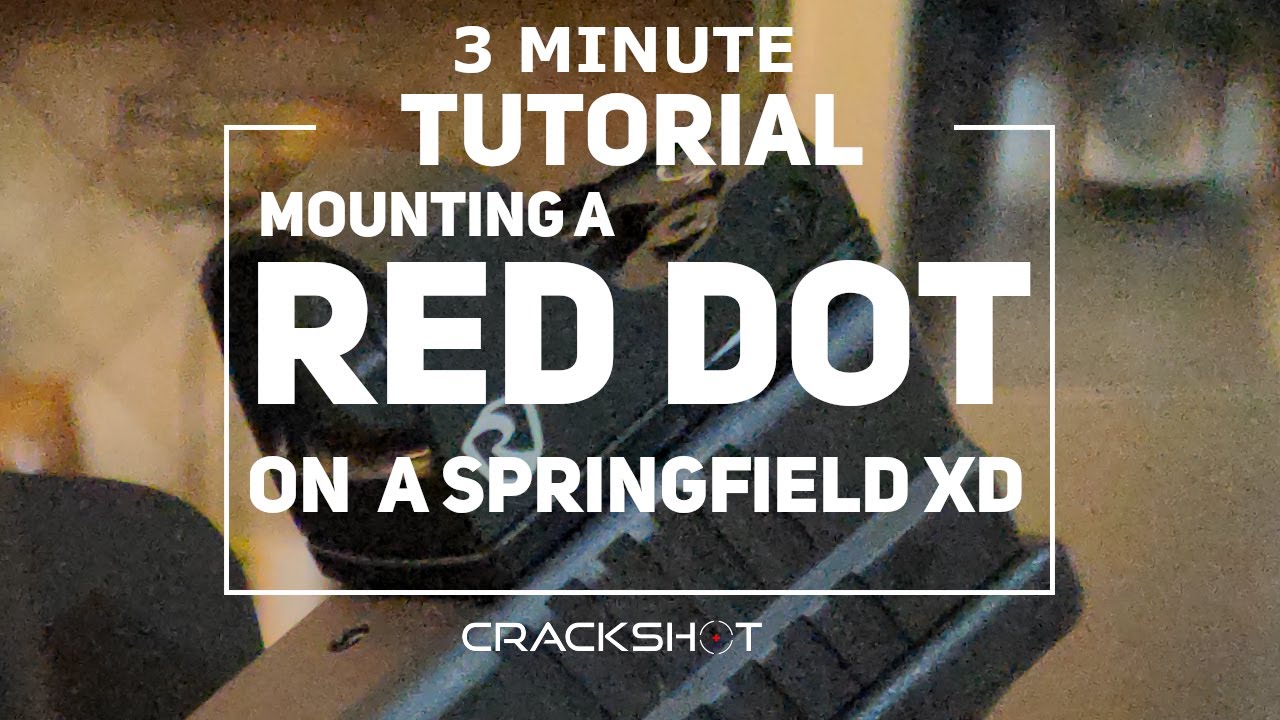
How to Mount a Red Dot on a Handgun without Milling the Slide
You don’t need to mill your slide to try out a red dot on your handgun
There are many ways to mount a red dot on a handgun. We outline all of the ways and their pros and cons here. However, most methods require special machine tools and can be very costly. So you want to mount a red dot on your pistol but you don’t want to get your slide milled? In this short 3 minute tutorial, we’ll show you how to mount a standard pistol or red dot optic using a rear sight mounting plate with options for any footprint.
This method works for all footprints including: RMR, Shield RMSC, C-More, Delta point pro DPP, Burris Fastfire, Doctor / Noblex patterns, and many more.
Why use Dovetail Replacement Adapter Plates
Replacing the rear sight with a dovetail has advantages and disadvantages over other mounting methods. A full breakdown of the different methodologies and the pros and cons of each can be found in this blog post.
That said the pros and cons of this method is as follows. Using a replacement adapter plate is the least intrusive option as it is for the most part a temporary mounting solution, but its great for “trying before you buy”.
Advantages:
- Allows you to “try” before you fully commit to milling your slide for an optic
- Easy to swap rear sight with a new plate if you want to try a different optic footprint
Disadvantages:
- High height over bore, may cause difficulty with zeroing optic
- Mounting method is not as secure as other options, the plate may loosen over time
- Prints more and less comfortable for concealed carry
Installing a Rear Sight Mounting Plate
Pre-Requisites – Supplies Needed
You’ll need to remove your rear sight before proceeding, which we instruct in this guide.
A sight pusher is ideal for this. We recommend this product which can be purchased for under $50.
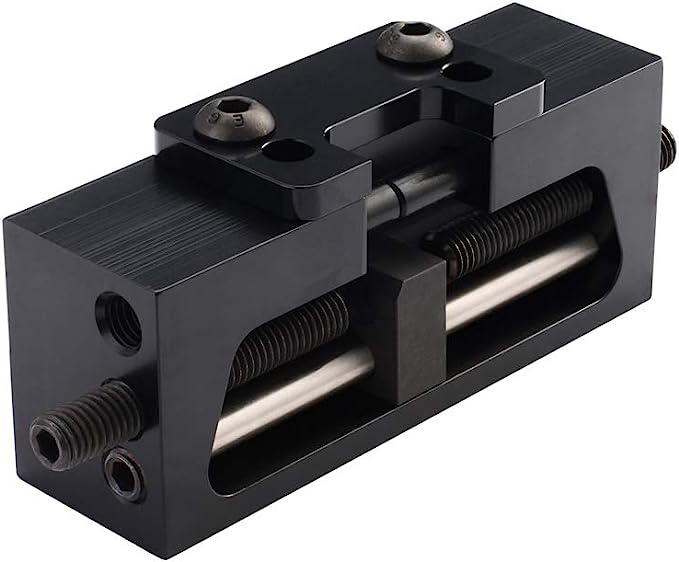
Quality Sight Pusher
This sight pusher is the one that we use in our tutorial video above. Some sight pushers can be made with very flimsy materials and can’t stand up to heavy jobs like replacing the Springfield XD rear sight. This one is the heaviest duty option we’ve found, and at the time of the writing of this article it only cost less than $40.
You’ll also need to purchase a mounting plate, we recommend DPP mounting plates which can be purchased on amazon.
With the rear sight removed, and your Springfield XD dissasembled, you’re now ready to install the rear sight replacement plate.
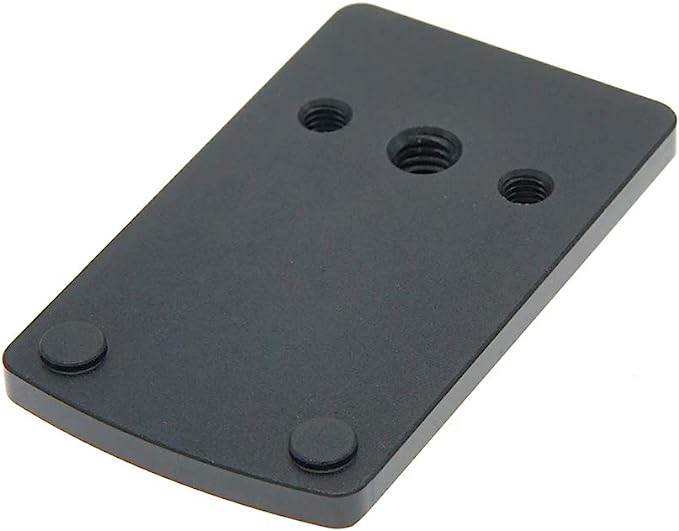
DPP Titanium Rear Sight Dovetail Replacement Mounting Plate
This is the Shield RMSc adapter plate that we use in this video tutorial. If you have a different mounting footprint like RMR, DPP also supports nearly all major footprints, so click on this link and then scroll down to their related products.
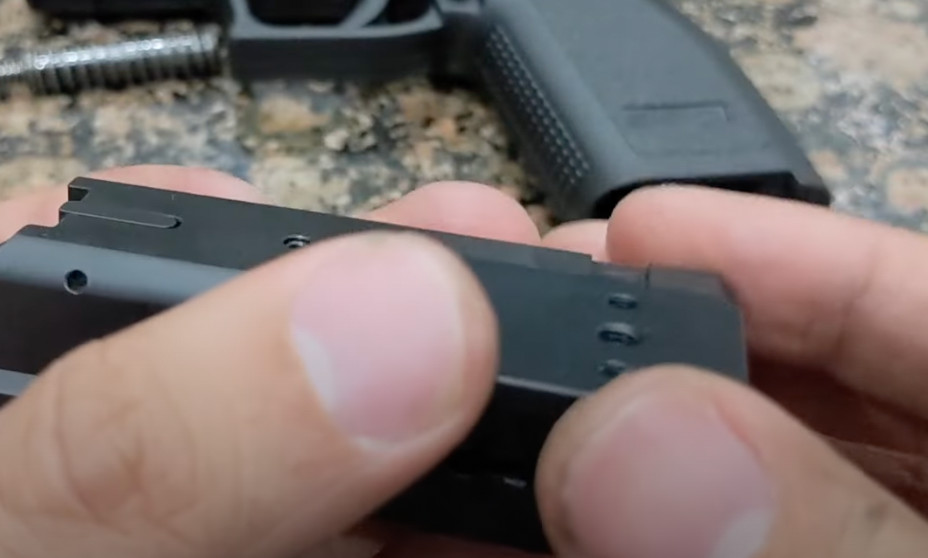
Step 1: Get the Plate Positioned in the rear sight dove tail by hand
We’ll want to start by manually, by hand, getting the rear sight plate position and started. Make sure that the plate is position evenly and perpendicularly to the slide. If it is angled, you could damage the plate or slide.
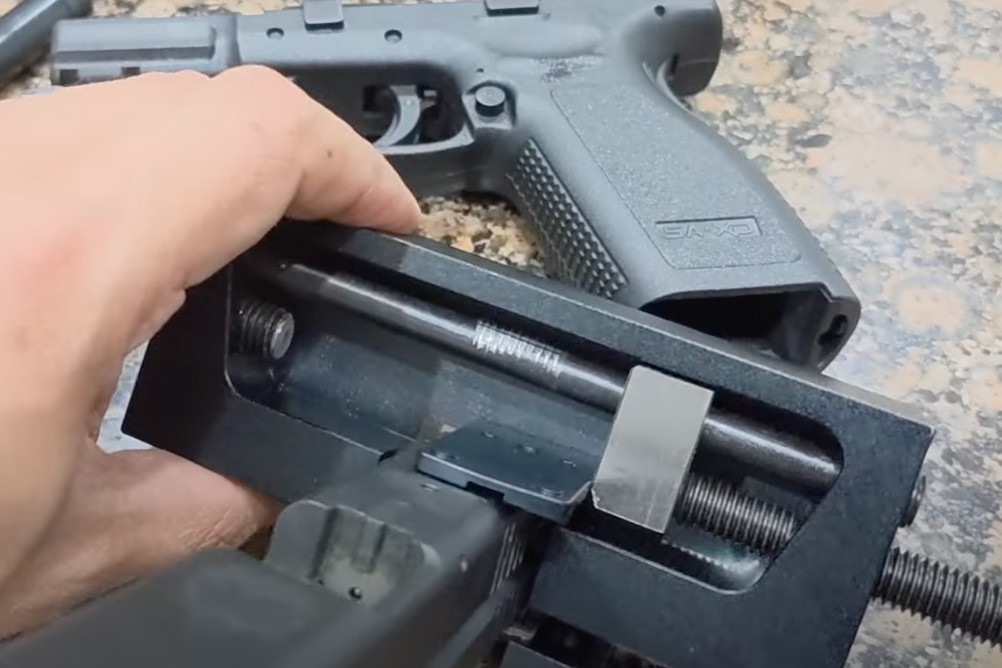
Step 2: Install the Slide into the Sight pusher and position the metal pushing block appropriately
The slide should be installed so that the metal pushing block has room to clear the slide while pushing.
Step 3: Push the plate until Centered on the Slide
Push the plate until it is centered on the slide. Most slide plates have a center mark of divet on the slide. If there isn’t one, you may want to mark it. You also may want to find a center reference point on the slide to compare with to make sure you get the plate lined up.
Alternatively, put a temporary mark with a piece of masking tape or a china marker that shows the center bore axis of the firearm.
This way, you have a reference point for determining when the mounting plate is centered / zeroed.
If you push to far, you may need to reverse the sliding block and push back the other way.
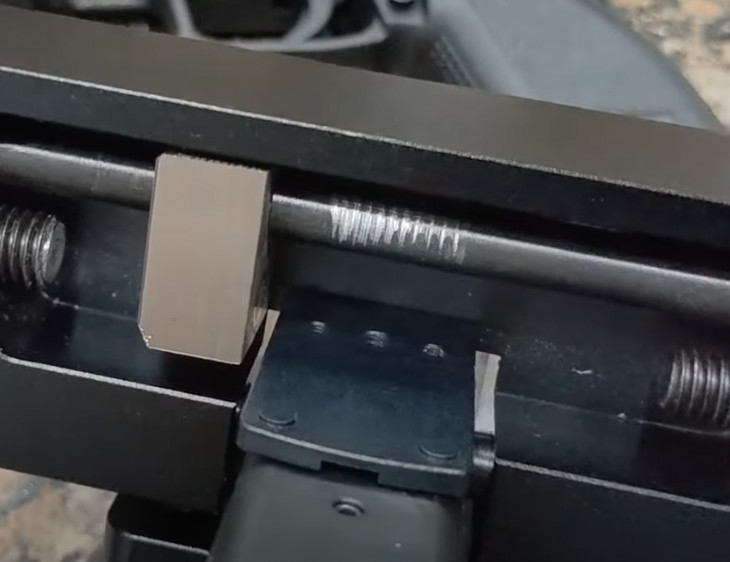
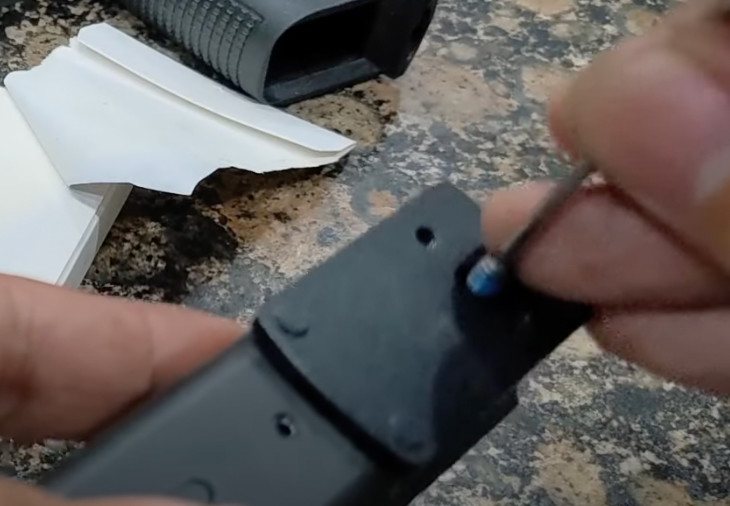
Step 4: Tighten the plate set screw
If your plate comes with a set screw, don’t forget to tighten the set screw, or the plate will likely come loose while shooting. Use blue loctite on the set screw to ensure it stays snug and in place.
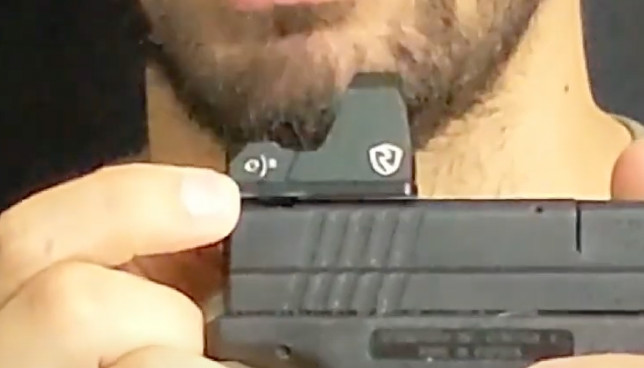
Step 5: Mount the optic to the mounting plate
The DPP plates linked above come with a variety of mounting screws for a number of different optics. Use blue loctite on the set screws as well to ensure the optic stays snug on the mounting plate.
In this tutorial, I am mounting a Riton X3 Tactix MPRD red dot.
Step 6: Store the original rear sight in a safe place
If you end up not liking the red dot option, you should store the original rear sight in a safe place so that you can replace it back should the red dot not work out for you.
Conclusion
Mounting a red dot on a Springfield XD is easy with the right tools and adapter plate. Mounting with this method can keep you from having to mill your slide or do any permanent modifications for your firearm. If you end up liking this setup and your particular red dot choice a lot, you can always have your slide milled later to get the benefits of a milled slide.
Going with this route will let you “try” before you “buy” to see if carry optics are really for you.